Uploading a Photo
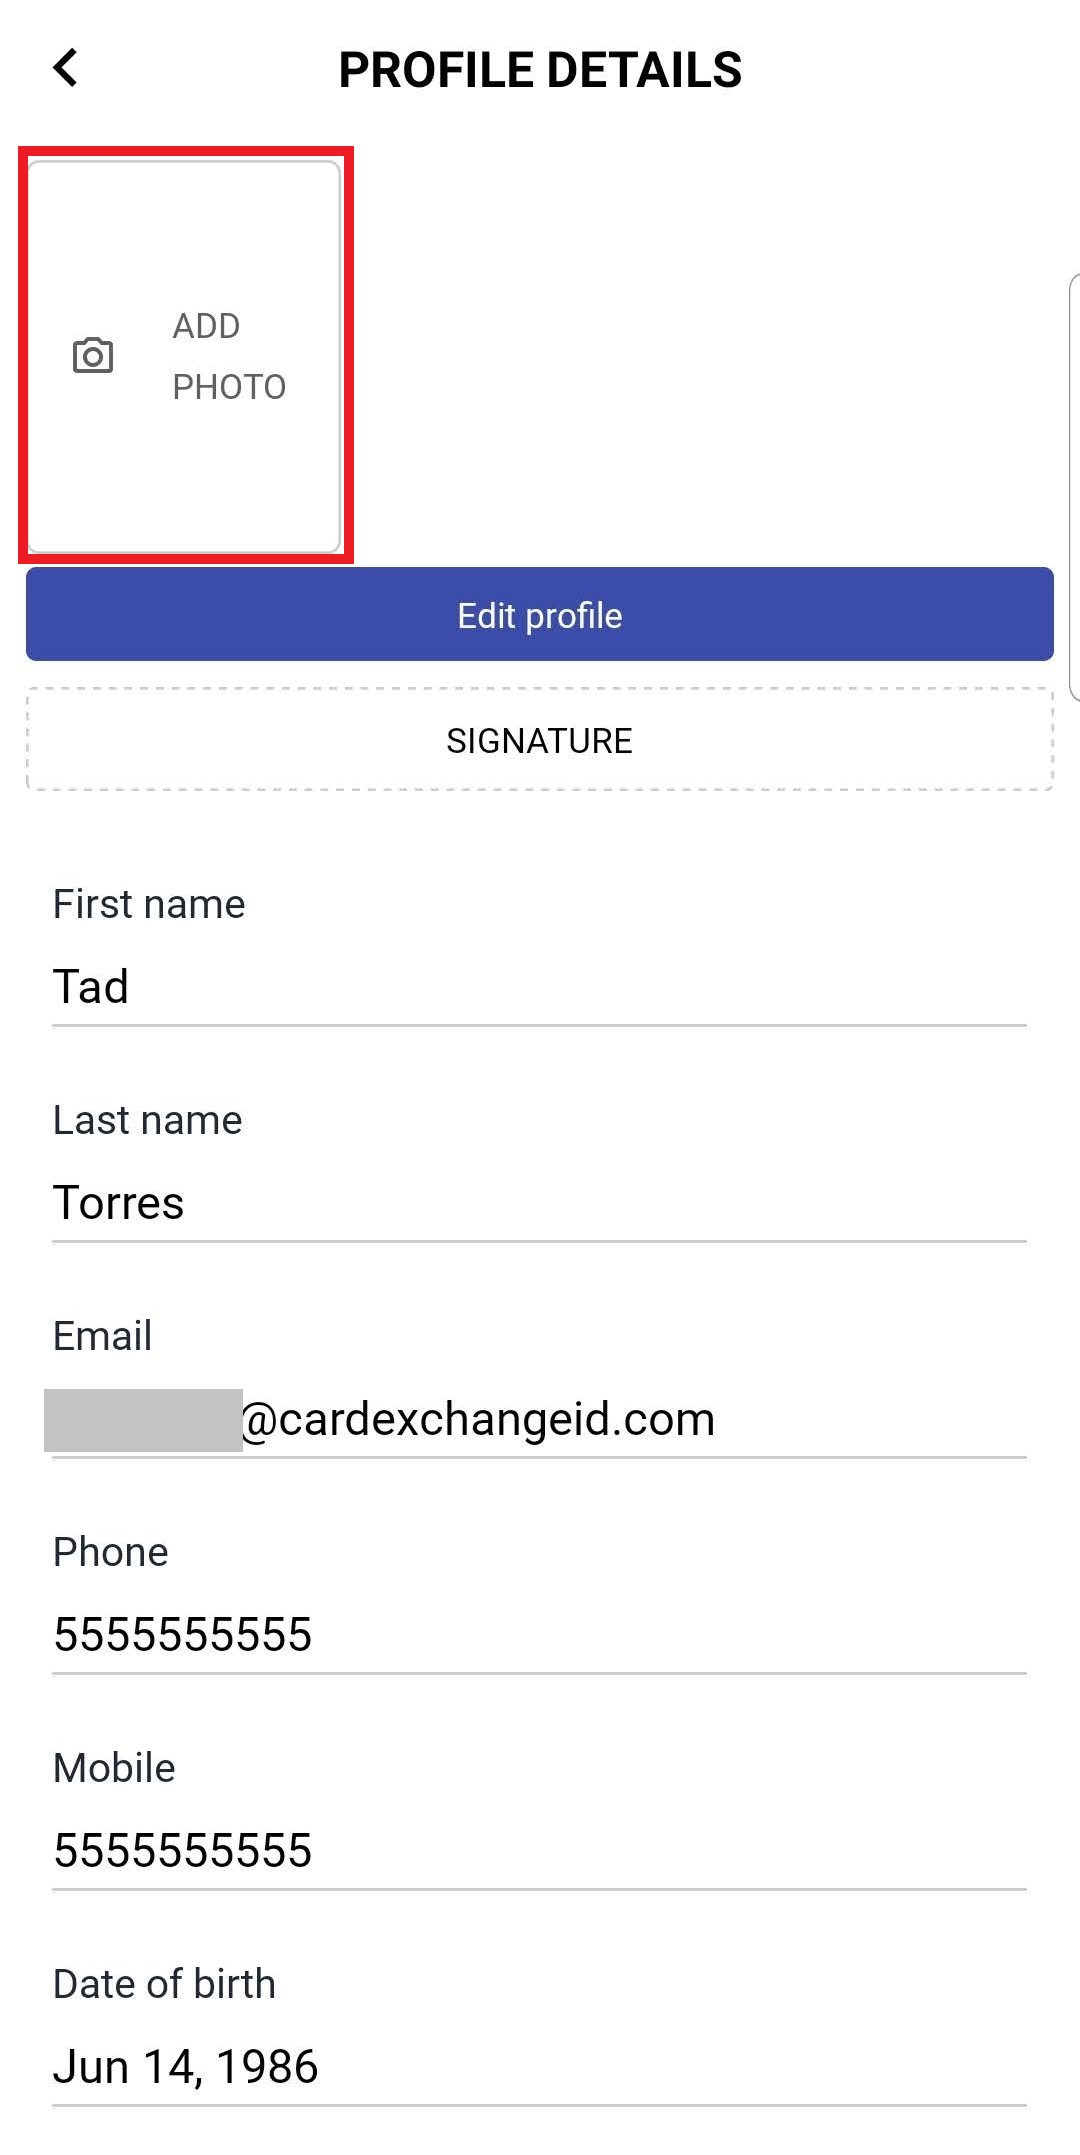
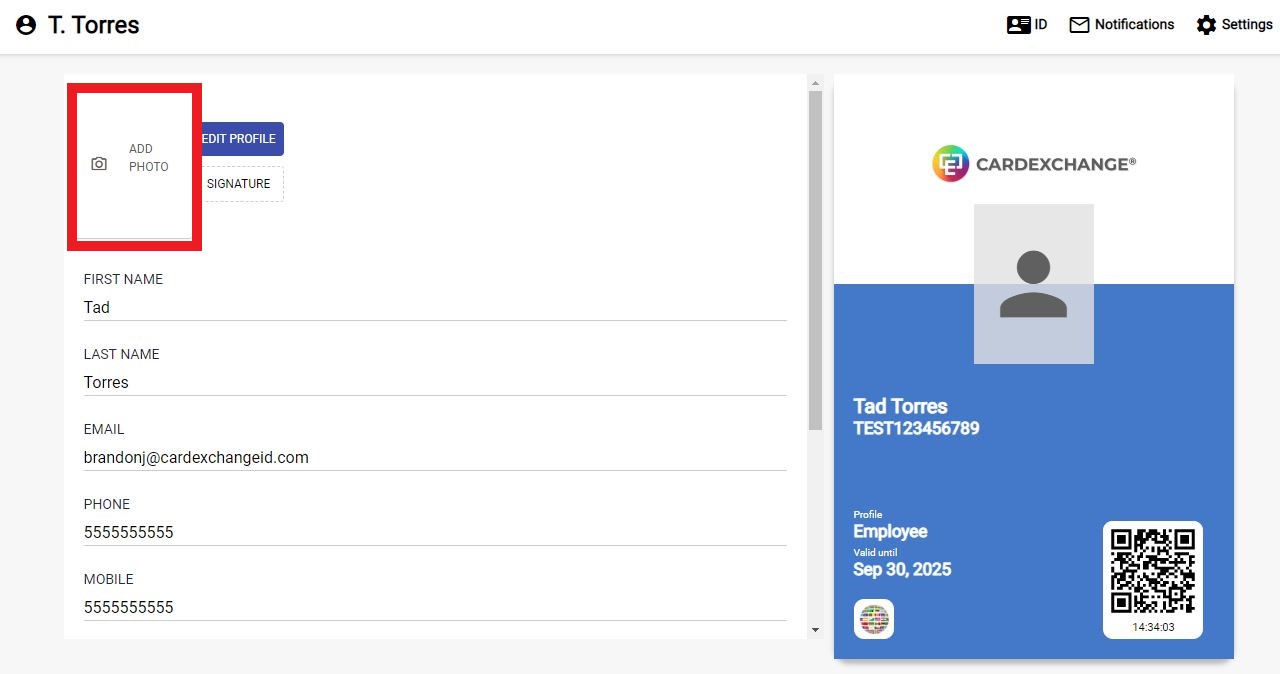
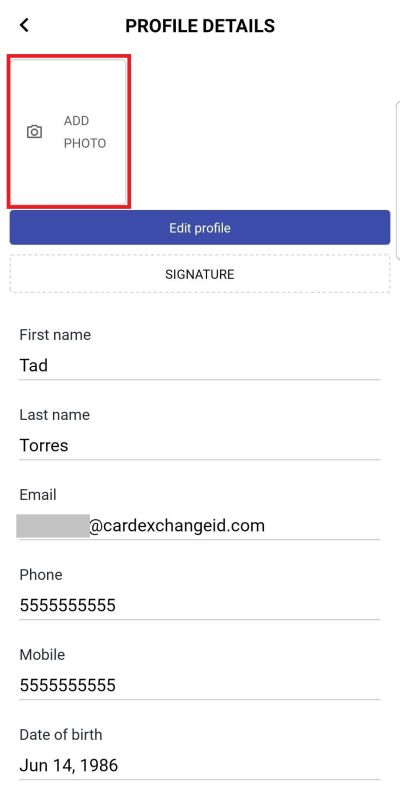
To upload your photo for the first time in the App, you must click on the details button on the bottom nav bar. Then at the top of the details screen, you will see a button to add a photo.
Use your camera to take a photo to be used, or import an image. Be sure to use a supported image file such as JPG or PNG.
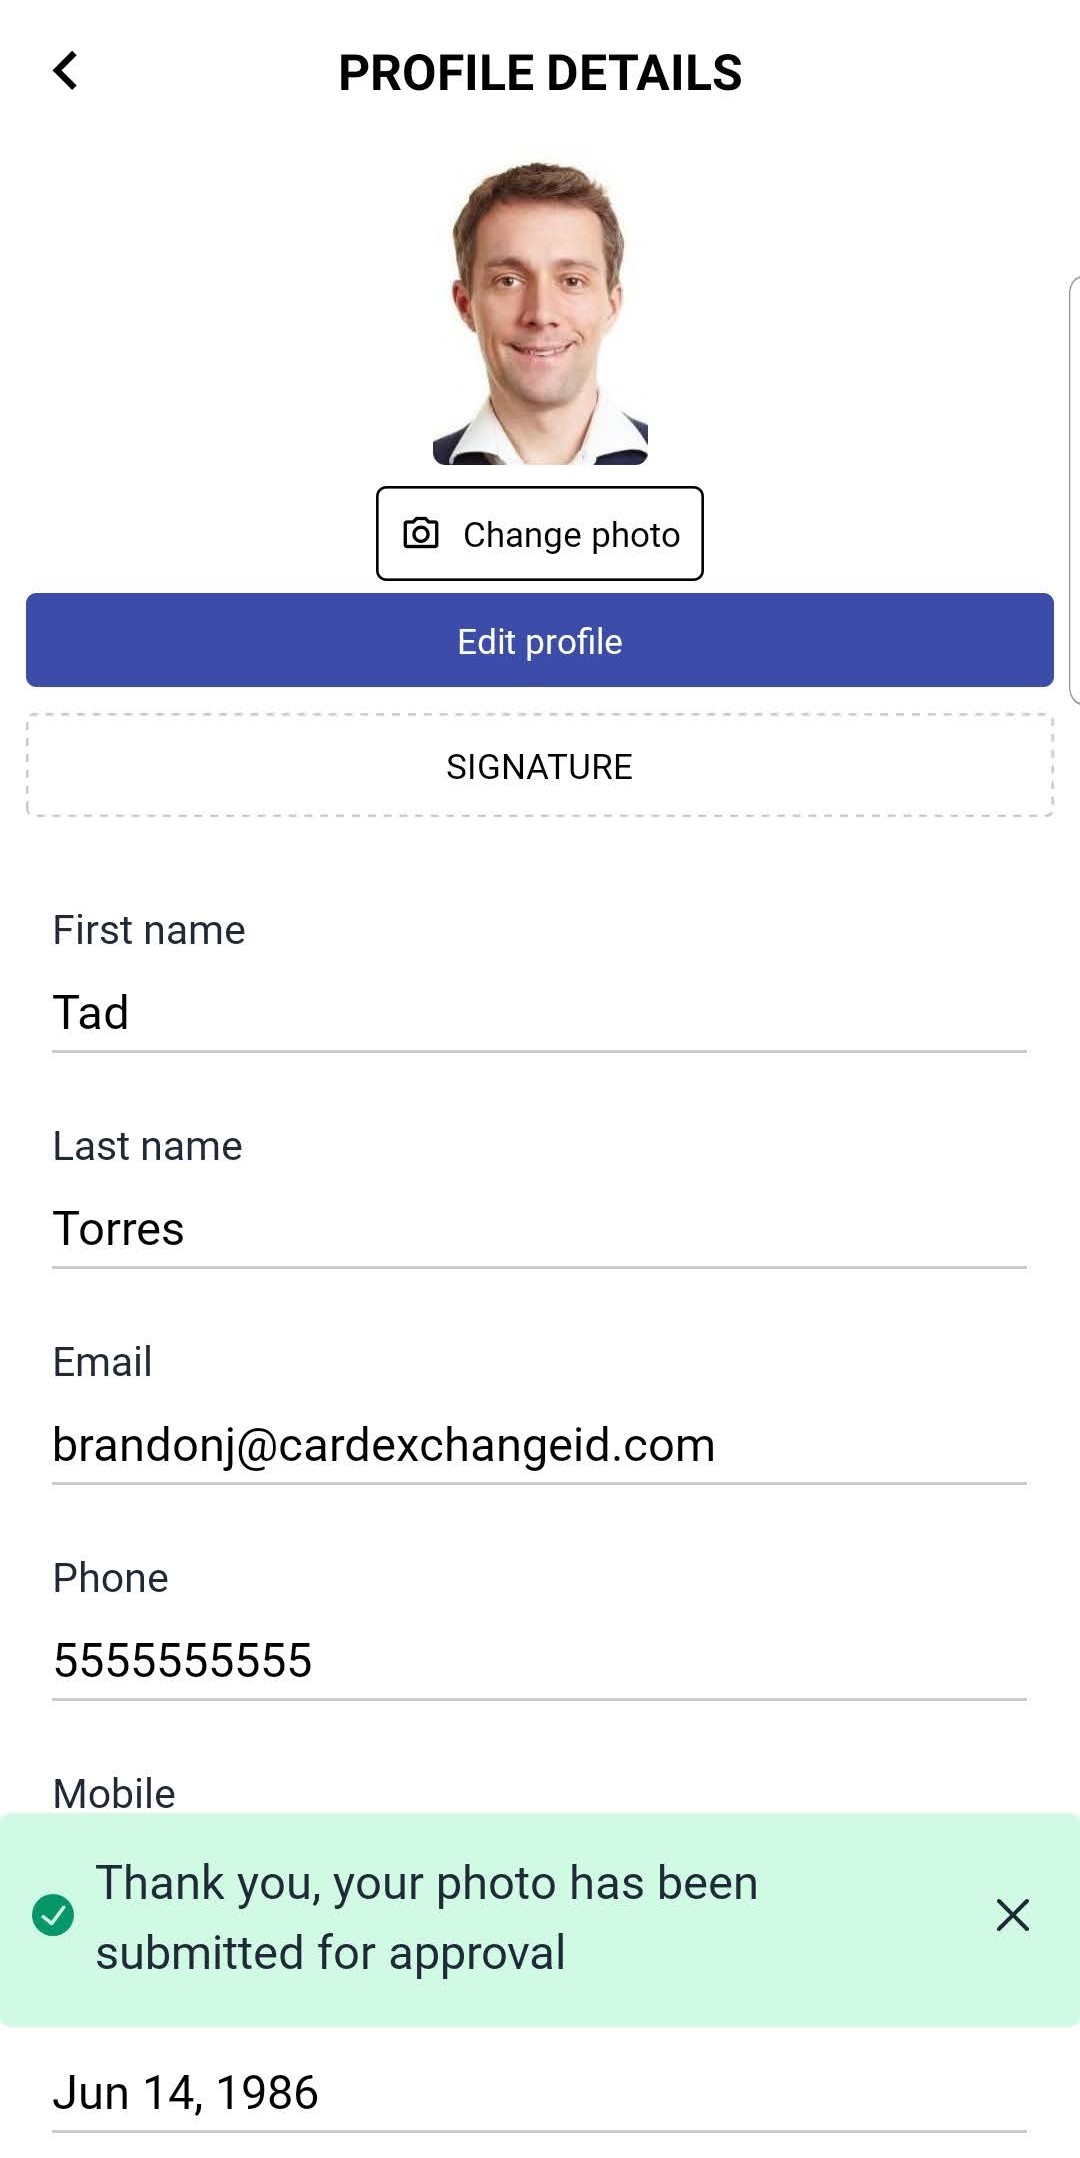
After you have uploaded your photo, then you will get a notification to tell you that your photo has been uploaded and that it is in the approval process. Your organization can customize this message, so you may see a message with slightly different verbiage.
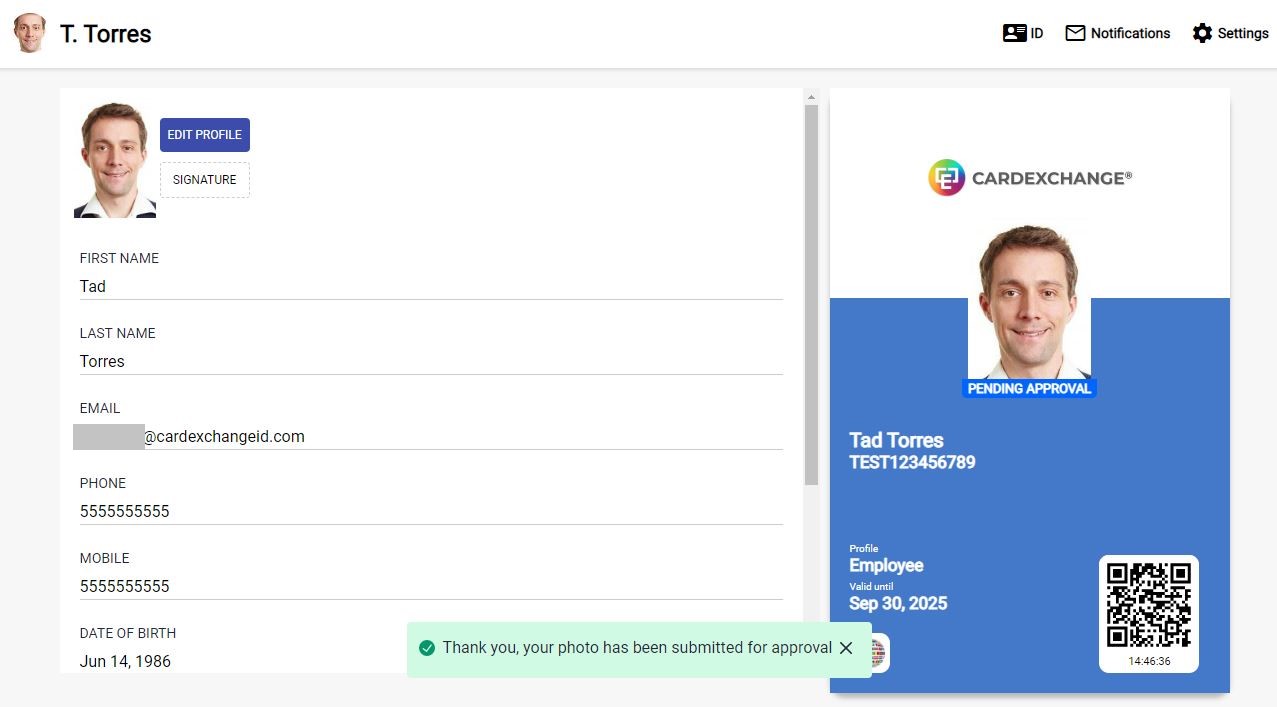
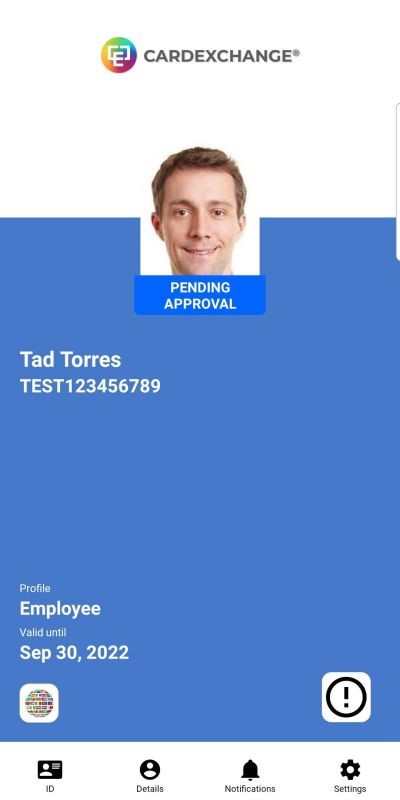
When you go back to the Virtual ID screen, if your organization is using photo approval, you will see a Pending approval banner under your photo. This will change once the photo has been approved.
Uploading ID Documents
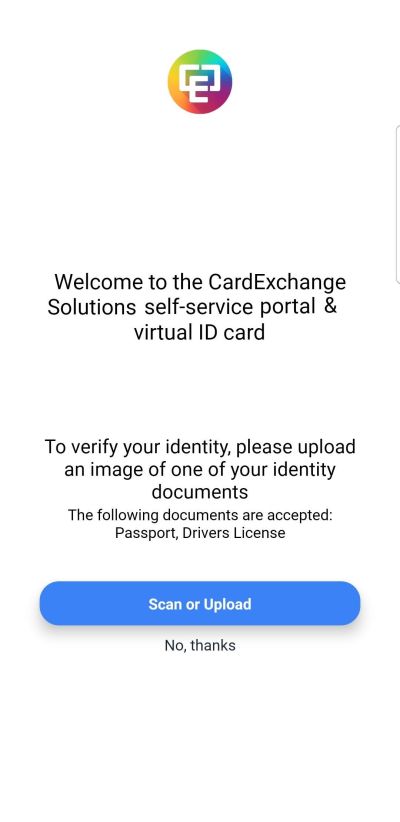
If your organization requires it, then you may be prompted to upload a picture of your ID Document. Depending on the requirements of your organization, there may be a specific type of accepted document.
After you log in, and have set a PIN, then if your organization requires it, the App will prompt you to upload or take a photo of your ID.
If you are going to be uploading a copy of your ID, you should use an image file like JPG or PNG. Uploading other file types like PDF and Word documents are not supported.
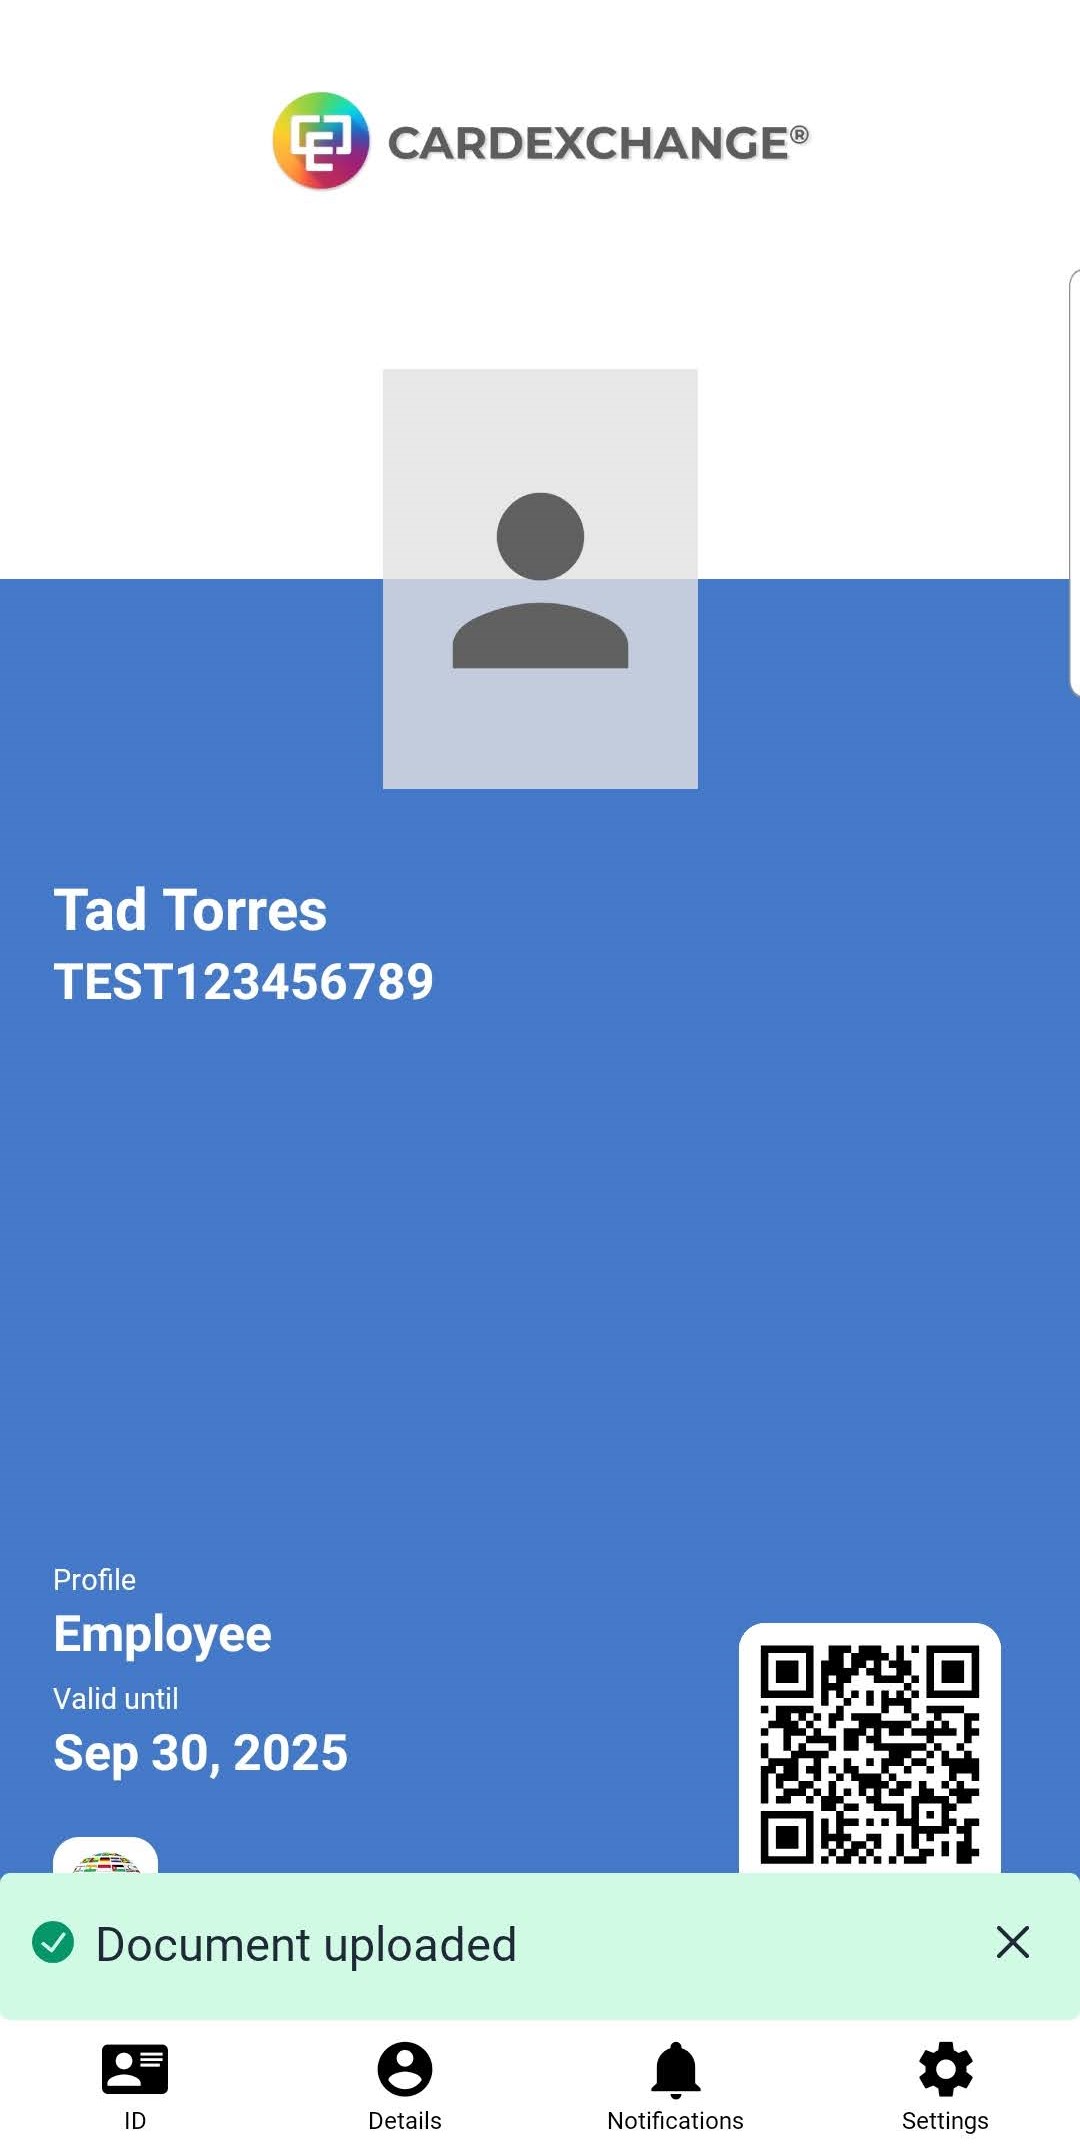
Once you have added your ID Document, you will be brought to your virtual ID, and you will see a message at the bottom to indicate that your upload was successful.
Uploading a Signature
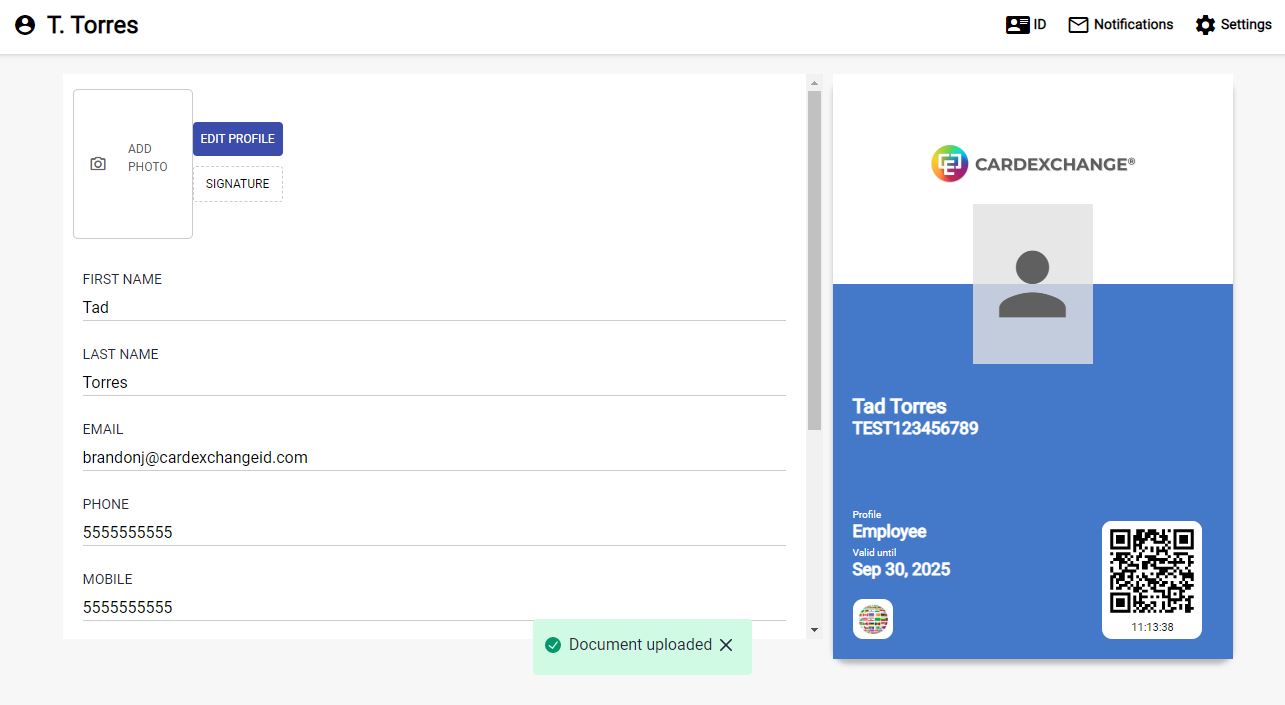
If your organization requires that you upload a signature, then you can do so under the Details screen.
In the details screen, click on the button labeled Signature.
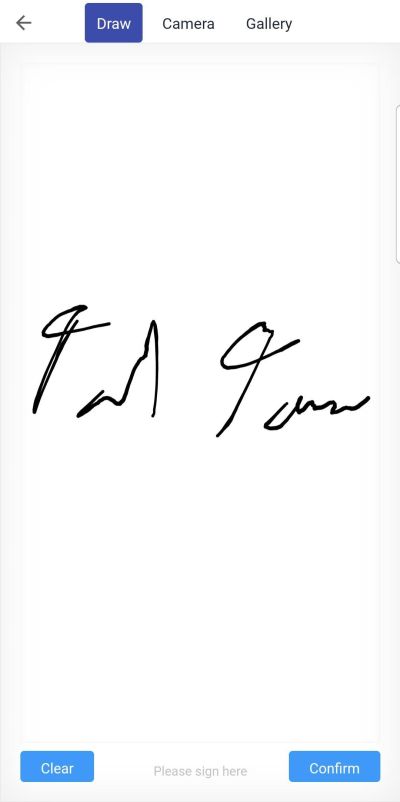
You can either sign the screen directly, capture a photo of your signature, or choose an image file of your photo.
After your image has been uploaded, you will return to the profile details screen, and will see a message at the bottom to indicate that you have succesfully uploaded your signature.
