Uploading a Photo
To upload
...
a photo for the first time in the
...
app:
Navigate to the Details Screen:
Click on the Details button located on the bottom
...
navigation bar.
...
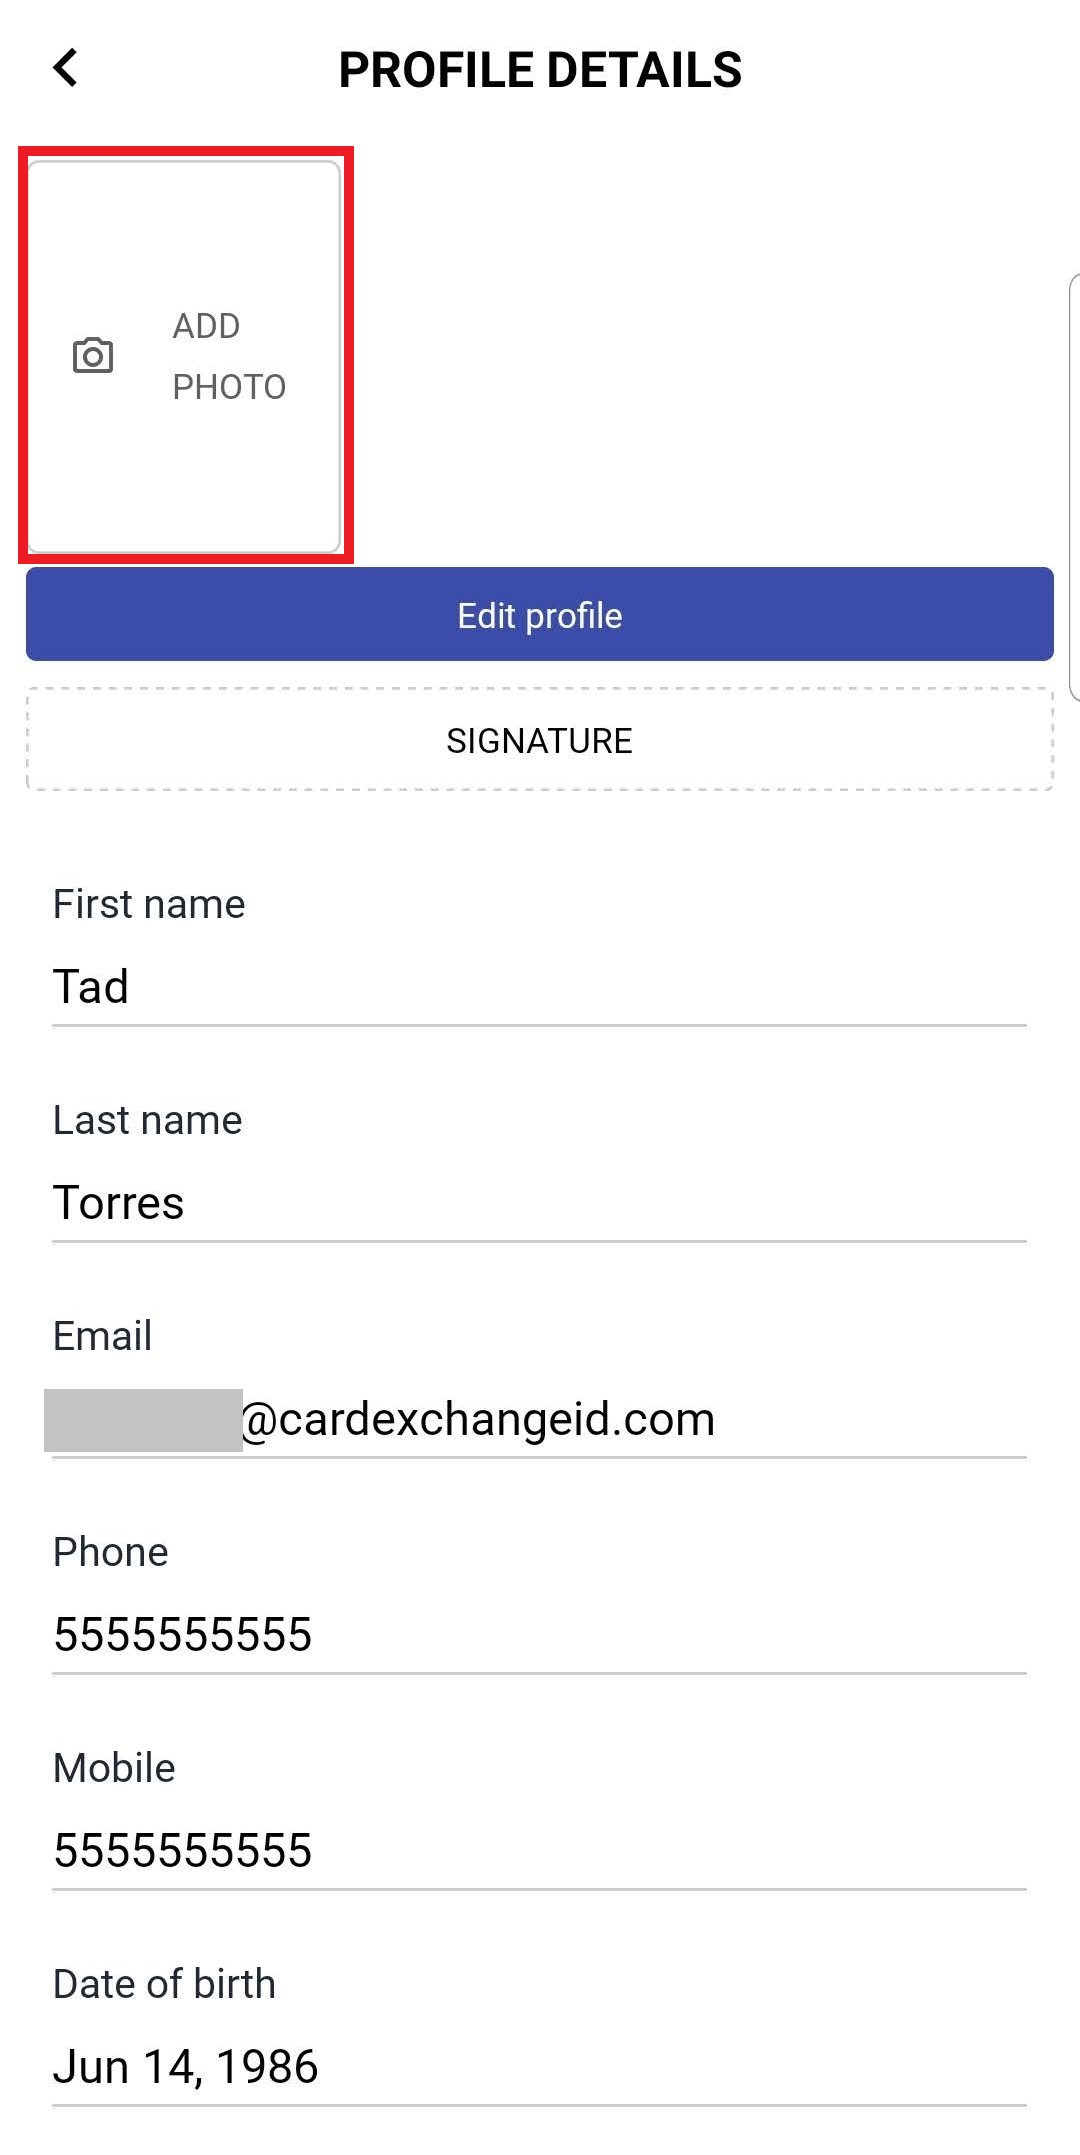
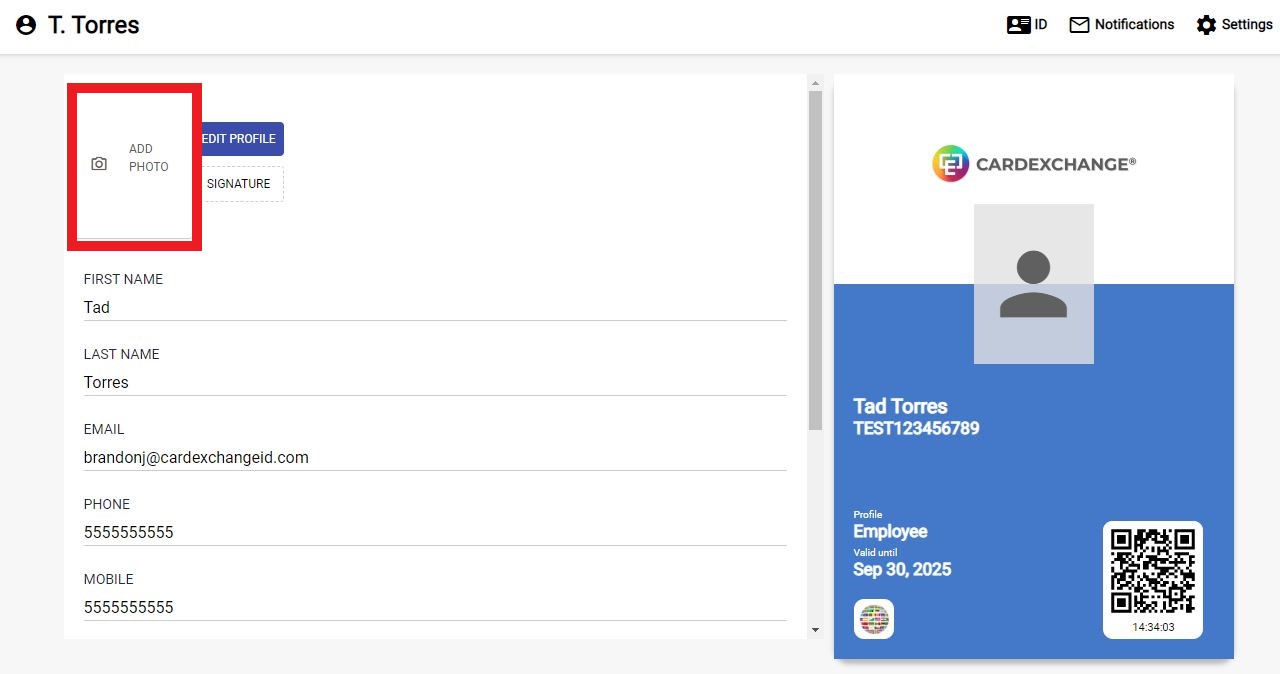
Add a Photo:
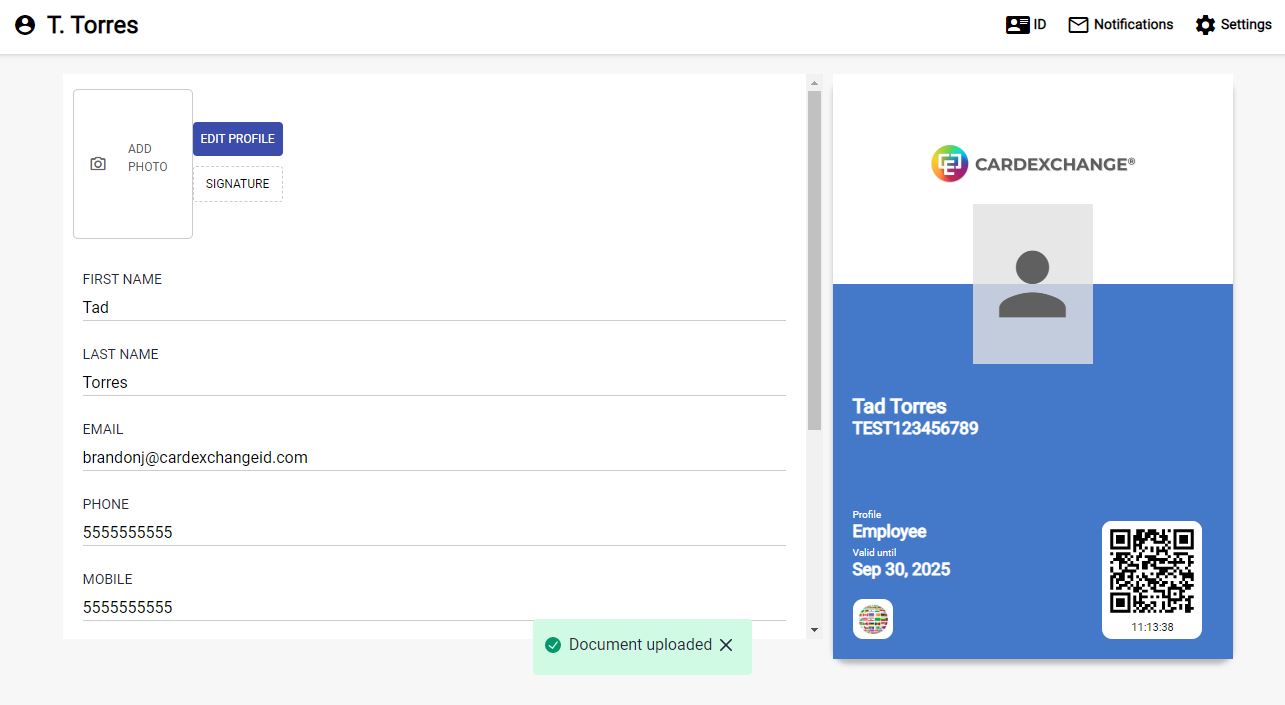
At the top of the details screen,
...
click the Add Photo button.
Choose an Image:
You can either take a new photo using your camera or import an existing image.
Ensure the file is in a supported format such as JPG or PNG.
...
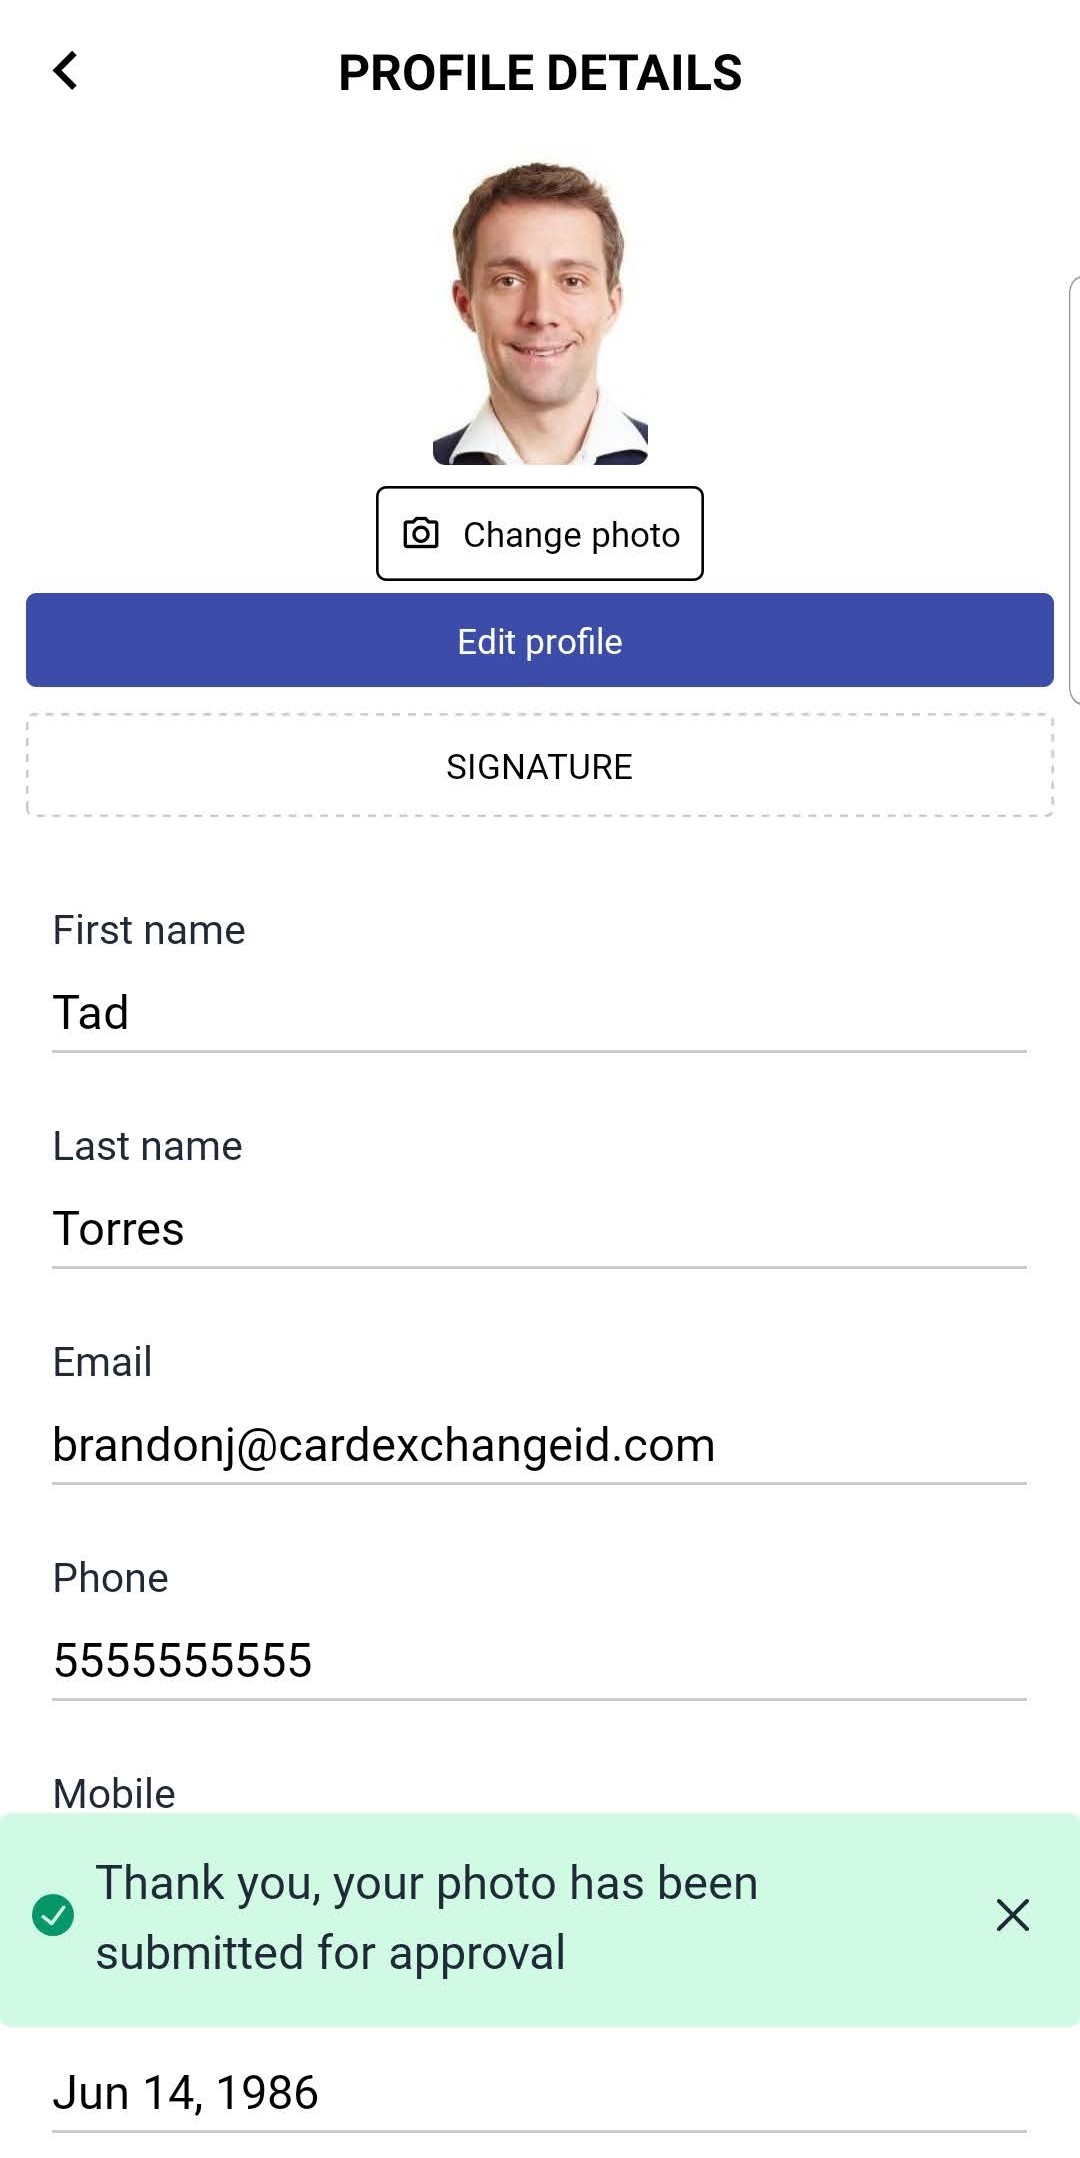
Receive Notification:
Once the photo is uploaded, a notification will confirm that your photo is in the approval process.
...
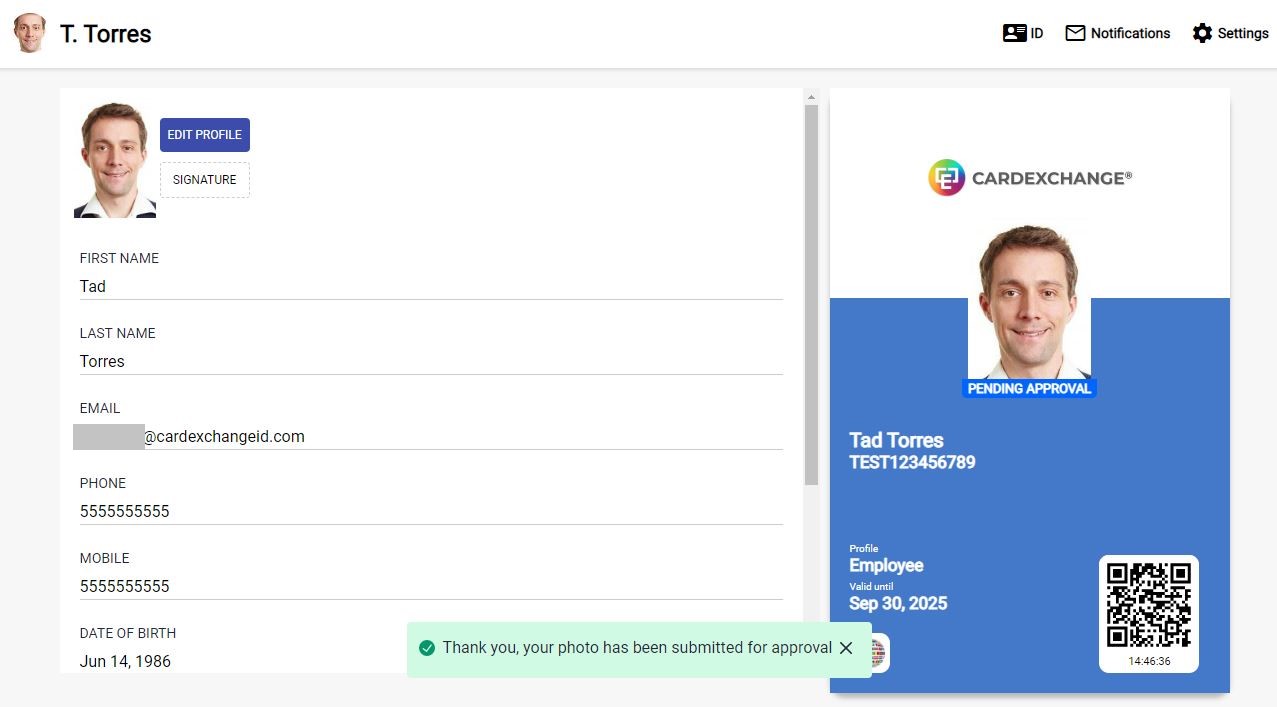
When you go back to the Virtual ID screen, if your organization is using photo approval, you will see a Pending approval banner under your photo. This will change once the photo has been approved.
...
The message might vary based on your organization’s customization.
Check Photo Status:
If your organization requires photo approval, a Pending Approval banner will appear under your photo on the Virtual ID screen. This banner will be updated once the photo is approved.
Uploading ID Documents
If required by your organization
...
,
...
you may be prompted to upload a picture of
...
an ID document. Follow these steps:
Log In:
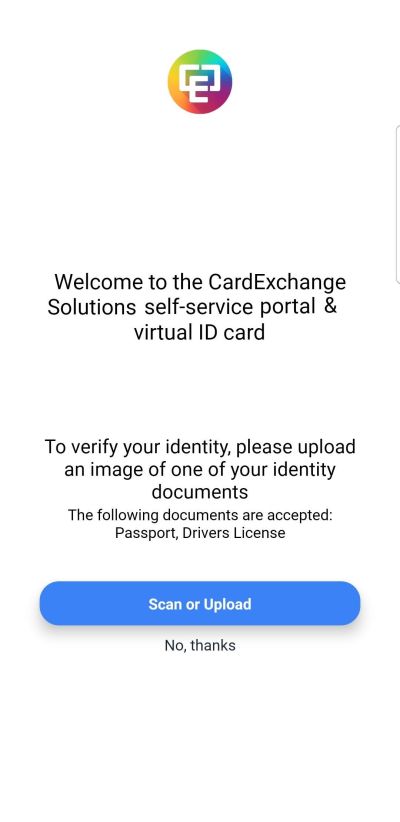
After logging in and setting your PIN, the app will prompt you to upload or take a photo of your ID, if required.
...
Upload the ID Document:
Use a supported image format like JPG or PNG.
...
Note: PDF or Word documents are not supported.
...
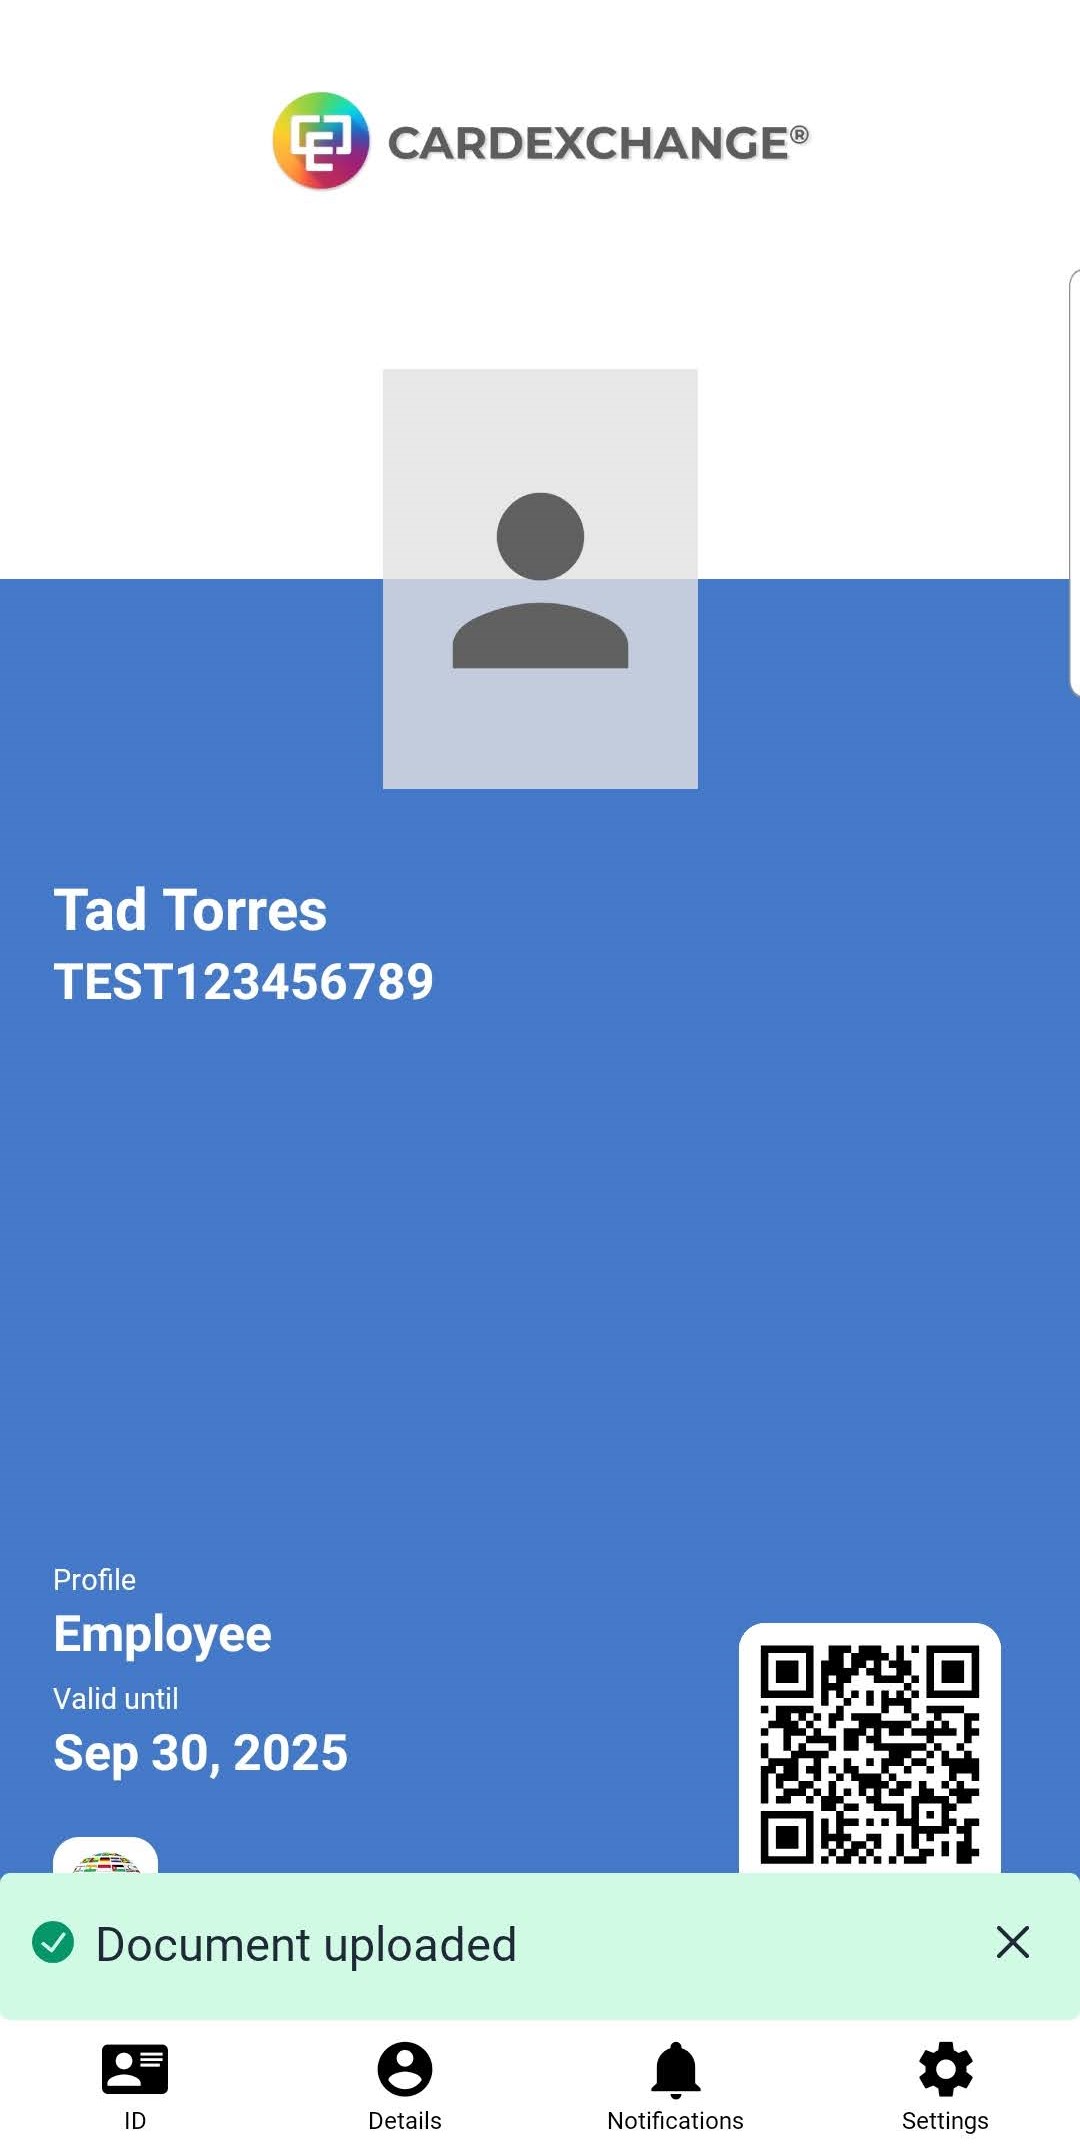
Upload Confirmation:
Once the document is successfully uploaded, you will be
...
redirected to your
...
Virtual ID screen with a confirmation message at the bottom
...
.
Uploading a Signature
If a signature is required by your organization
...
In the details screen, click on the button labeled Signature.
...
, follow these steps:
Navigate to the Signature Section:
On the Details screen, click the Signature button.Add Your Signature:
You can either sign directly on the screen
...
, capture a photo of your signature, or
...
upload an image file of your
...
signature.
...
Upload Confirmation:
After
...
the signature is successfully uploaded, you will return to the
...
details screen,
...
where a confirmation message will appear at the bottom
...
of the screen.
